Making your own essential oils at home is rewarding, and it's a fantastic way to ensure you're getting pure, high-quality products while connecting with nature's incredible healing properties. I've spent years experimenting with different extraction methods, and I'm excited to share everything I've learned about creating your own aromatic treasures right in your kitchen.
What Are Essential Oils?
Essential oils are highly concentrated plant extracts that capture their source's natural scent, flavor, and beneficial properties. These potent liquids are extracted from various plant parts—flowers, leaves, stems, roots, and even rinds—and contain the essence of the plant in its most concentrated form.
Unlike carrier oils (such as coconut or jojoba), essential oils don't have an "oily" feeling. They're volatile compounds that evaporate quickly and contain the characteristic fragrance and therapeutic properties of the plant they're derived from.
I still remember my first experience with homemade lavender oil—the scent was dramatically more vibrant than anything I'd purchased, with subtle notes that commercial products couldn't capture. That moment convinced me that making my oils was worth every minute of effort.
How To Make Essential Oils
1. Harvest Plant Material
The quality of your essential oil starts with the plants you choose. For the best results:
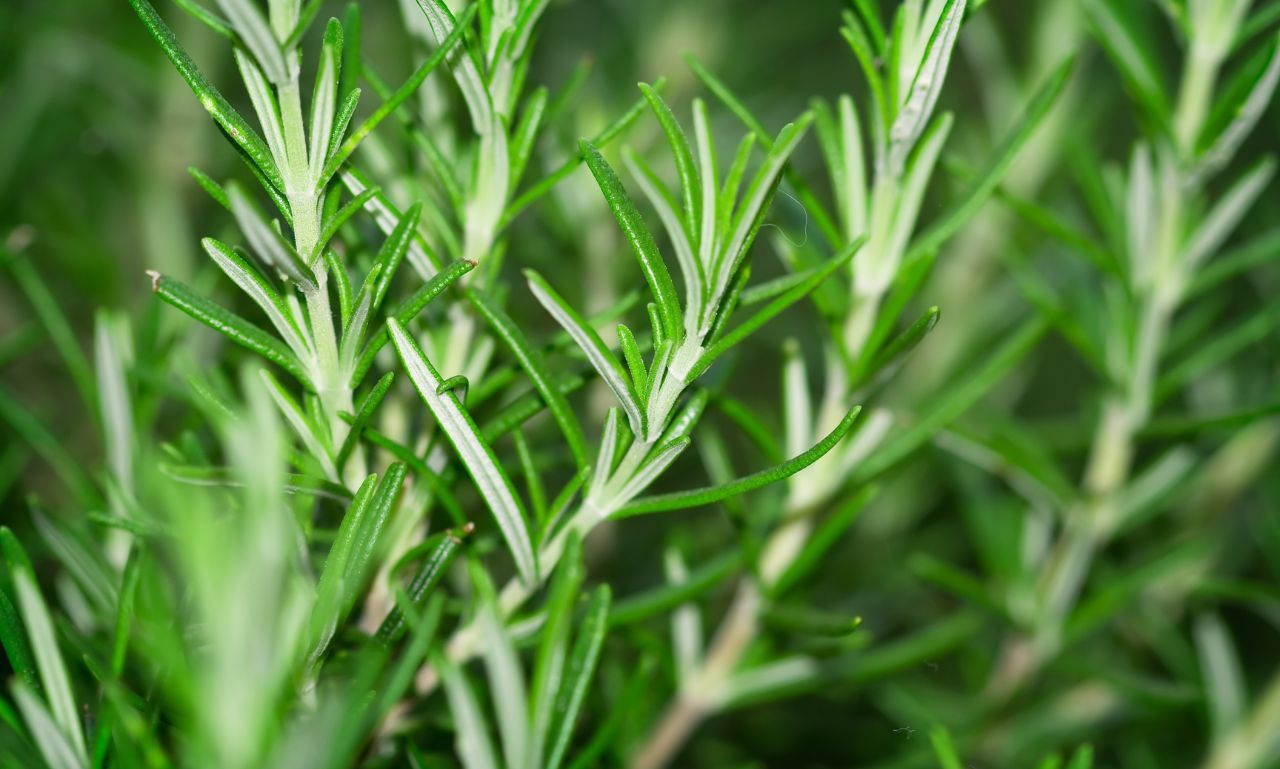
Harvest plants at their peak potency—usually in the morning after the dew has dried but before the sun gets too intense. I've found that harvesting lavender just as the buds open yields the strongest scent profile.
Choose healthy, vibrant plant material without disease or pest damage. The fresher your plants, the better your oil will be.
For most herbs, flowers, and leaves, aim for 3-4 pounds of plant material to produce about 15-30 ml of essential oil (depending on the plant type).
Some excellent beginner-friendly plants include lavender, peppermint, rosemary, lemon balm, and citrus peels—all of which produce good oil yields and are relatively easy to process.
2. Prepare The Boiler
Setting up your distillation equipment properly is critical for success:
Use essential oil—from simple stovetop models to larger standalone units- if possible. A basic setup includes a heat-resistant pot (the boiler), a condenser (cooling system), and a separator to collect the oil.
Ensure all components are thoroughly cleaned beforehand to prevent any contamination.
Add a mesh or perforated barrier above where the water will sit—this will hold your plant material and prevent it from soaking directly in the water.
If using a DIY setup, you can still create a makeshift with a large pot, a bowl, an inverted lid, and ice.
3. Add Plant Material To Still
Proper placement of your herbs, flowers, or other plant materials will maximize your oil extraction:
Place your fresh or dried plant material loosely on the mesh screen or perforated tray above the boiler section.
Don't pack the material too tightly—steam must circulate freely throughout all the plant matter.
For leafy herbs like mint or rosemary, you can roughly chop them to increase surface area but don't process them too finely.
Flowers like lavender or chamomile should be added whole but separated from stems.
4. Add Water To The Still
The water component is more critical than many beginners realize:
Use clean, filtered water to prevent mineral deposits and impurities from affecting oil quality.
Add enough water to the bottom chamber to last through the distillation process (typically 2-3 hours) without boiling dry.
Maintain at least a few inches between the water level and the plant material—remember, you want the steam to pass through the plants, not the water to touch them.
Monitor the water level periodically for larger batches and add more hot water if needed.
5. Heat The Boiler
The heating process requires attention and precision:
Start with medium heat to gradually warm the water until it produces steam.
Once steam production begins, reduce to a gentle simmer that produces consistent, steady steam without violent boiling.
Maintain this heat level throughout the process—usually between 2 and 6 hours, depending on the plant material.
Be patient! Rushing this process with higher heat will damage the delicate compounds in your essential oil and produce inferior results.
During one of my early attempts with peppermint oil, I tried to speed things up with high heat—a big mistake! The resulting oil had a burnt undertone that completely ruined its therapeutic properties. Slow and steady truly wins this race.
6. Collect and Separate Oil and Hydrosol
This stage is where your patience finally pays off:
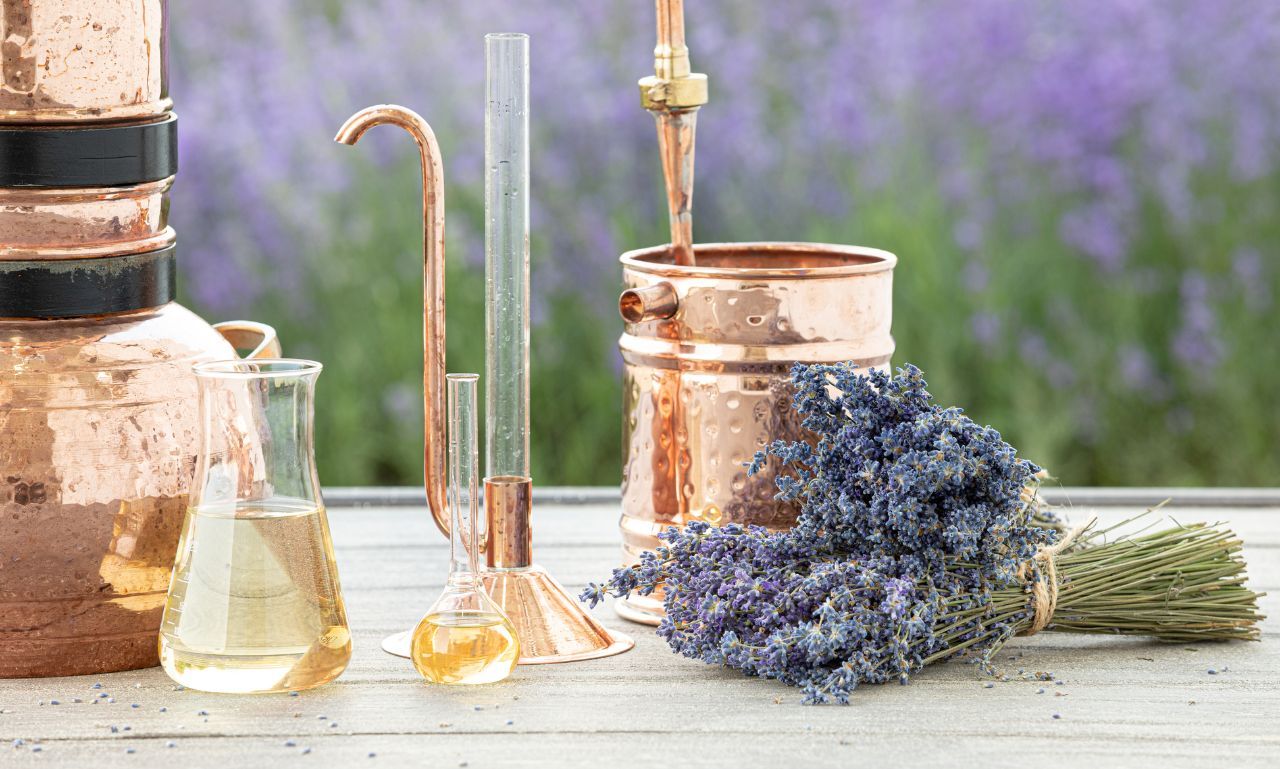
As steam passes through the plant material, it carries volatile oil compounds into the condenser, where cooling transforms them into liquid.
This liquid separates naturally into essential oil (which typically floats) and hydrosol (the aromatic water portion).
If possible, use a separator funnel to divide the oil from the hydrosol, or allow them to separate in a narrow container and carefully remove the oil layer.
Both products are valuable—the hydrosol makes an excellent toner, room spray, or linen mist!
Save every drop of that essential oil—it represents work hours and a lot of plant material.
7. Store the Oil
Proper storage ensures your handcrafted oils maintain their potency:
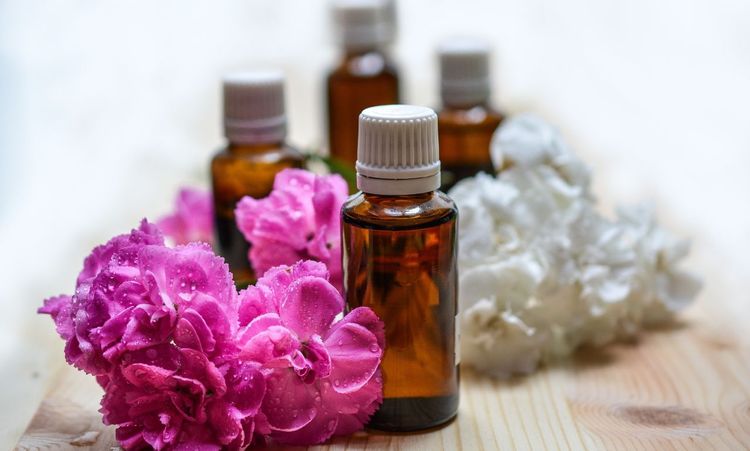
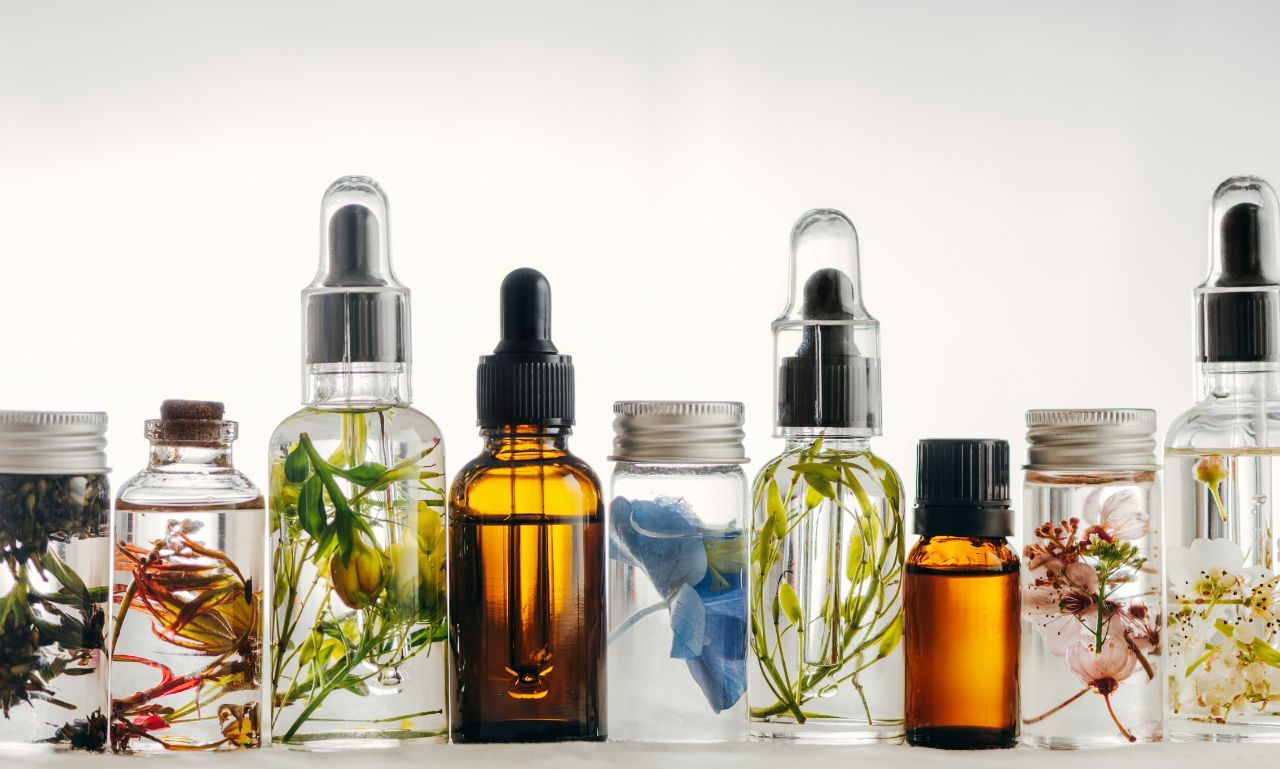
Transfer your essential oil to dark amber or cobalt blue glass bottles immediately after separation.
Use bottles with tight-fitting caps, ideally with dropper inserts for easy dispensing.
Label each bottle with the oil type and production date.
Store in a cool, dark place away from direct sunlight and heat sources.
Properly stored, most essential oils will maintain their therapeutic properties for 1-2 years, though citrus oils have shorter shelf lives (about 6-12 months).
Do I Need FDA Approval to Sell Essential Oils?
If you're considering selling your homemade essential oils, it's important to understand the regulatory landscape:
Essential oils don't typically require FDA approval, but how you market them matters enormously. If you make any health claims (such as "treats headaches" or "reduces inflammation"), your products immediately fall under FDA regulatory oversight as drugs.
For hobbyist sellers, the safest approach is to market your oils for aromatic use only, clearly labeling them as "not intended to diagnose, treat, cure, or prevent any disease."
Requirements vary by location, so check your local regulations regarding cottage industry products, business licensing, and product labeling.
Consider liability insurance if selling essential oils to the public, as they are highly concentrated substances that can cause adverse reactions.
What is the 30/50/20 Rule for Essential Oils?
The 30/50/20 rule is a helpful guideline for creating balanced essential oil blends:
- 30% Top Notes: These are the first scents you smell, but they evaporate quickly (within 1-2 hours). Examples include lemon, bergamot, eucalyptus, and peppermint.
- 50% Middle Notes: These emerge as top notes fade and form the "heart" of your blend, lasting 2-4 hours. Examples include lavender, rosemary, chamomile, and geranium.
- 20% Base Notes: These emerge last but last longest (sometimes days), anchoring your blend. Examples include cedarwood, patchouli, vanilla, and sandalwood.
Following this ratio creates a blend of complexity and longevity that evolves pleasantly over time. This formula is beneficial when creating signature scents for homemade candles and bath products.
Is Making Essential Oil Profitable?
The economics of essential oil production deserve careful consideration:
Small-scale production is rarely profitable if measured strictly by time investment—it takes approximately 250 pounds of lavender flowers to produce just 1 pound of essential oil!
However, for skilled artisans creating specialty blends or rare oils, small-batch production can command premium prices that offset the intensive labor.
The most financially viable approach for hobbyists is creating value-added products using their oils—soaps, candles, bath bombs, or skincare items typically offer better returns than selling the oils themselves.
Consider the "whole plant" approach: selling the essential oil, hydrosol, and dried plant material can maximize your return from a single crop.
Conclusion
Creating your essential oils connects you deeply with nature's healing properties while providing unmatched quality and purity. Though the process requires patience and some specialized equipment, the reward of producing truly artisanal oils is worth every effort.
Start with simple, high-yield plants like lavender, mint, or citrus peels before advancing to more challenging extractions. Each batch will teach you something new about the art of distillation.
Whether making oils for personal use or considering a small business venture, remember that quality always trumps quantity. A small bottle of exquisite, carefully crafted essential oil brings more joy and therapeutic benefits than a larger amount of inferior product.
